
Paper, Printing and Packaging
When you decide to start a stationery business, one of the most overwhelming parts to figure out is how to turn your lovely artwork into a high quality, printed product. There are often hours upon hours of searching involved; comparing prices, reading reviews, and trying to figure out how other people do it. The process is unnecessarily time consuming and exhausting.

In all of my own searching, I've never come across any sort of comprehensive resource that spells out the process and answers my questions. The production method I've arrived at comes through lots of trial and error (mostly error). That's why I'm writing this post. It won't answer all of your questions, I'm sure, but I hope it saves you some time and helps you get started as you look for the method that works for you.
Of course, the first and most important step is to create the artwork! It's easy to put the cart before the horse and try to find the perfect printing method before you even have artwork to sell (when I was getting started, that became one of my many forms of procrastination). The artwork is always worth the up front investment, even if it means delaying production for a little while. Remember, your customer is buying your artwork because they love it, not because they love the paper it was printed on!
(By the way, if your particular artwork happens to be created with watercolor, I'd recommend reading one of my earlier posts all about my painting toolkit).
So, today we're going to assume that you've already created the artwork and are ready to turn it into a product. Here we go!
SCANNING
If your goal is to create a print of your artwork in any form, you must first turn it into a digital file. I invested in this scanner fairly early on and have never looked back. This tool was well worth the up front cost and I still use it to scan all of my artwork. There are companies who can scan your work for you, but the cost per scan can be quite significant and adds up fast.
To learn more about using a scanner and editing your artwork, here is a post I wrote that shares how to create a print-ready file.
PAPER + PRINTING
This is the part where things start to get overwhelming. When you are choosing how to print and what paper to use, there are literally thousands upon thousands of options. I'd like to first break down a few basic types of printing, and then I'll go into my own method.
Giclee - This is a fancy word for ink jet printing. It is a wonderful option for reproducing artwork because of its ability to produce rich, accurate color.
Letterpress - Letterpress is an old method that has becoming extremely popular in the past several years for its beautiful ability to make an impression into the paper. It is probably considered to be the "highest" level of printing due to its rich, handmade finish. The limitations, however, are its cost and the fact that only one or two colors can be used.
Offset - Offset printing is one of the most common printing methods and is often used for printing large quantities. Like letterpress, offset printing involves plates, but the plates don't touch the paper directly. It is a very fast and efficient printing method.
Screen printing - Like letterpress, screen printing is a hands on method that is an art form in itself. A negative of the design is burned onto a fine mesh screen, and then ink is pressed through the screen onto a substrate. This is a very common method of printing t-shirts, for example, although many stationery products are made this way as well. If you’d like to learn more about this method, my friends over at How to Heat Press have written a very helpful article. You can read it here.
Most printing companies will offer a variety of these printing methods and make recommendations depending on what your needs and budget are.

My trusty Olfa. I use the end of it (covered by my hand) for scoring my cards.

I use stamps for many of my packaging labels so I can use up my scrap paper!
So, what do I do?
I currently do most of my own printing.
Yes. Yes I do. As a still very small business, it is manageable for me to do this and it keeps my costs down tremendously. I have figured out how to be quite efficient in order to eliminate as much wasted time and paper as possible.
Here are my tools:
Paper Cutter
Knife
ART PRINTS
All of my art prints are giclee (ink jet) printed with my Canon Pixma on the Moab Entrada paper. I cut down the large 17 x 22 sheets to 8 x 10 and 11 x 14 as needed. The left over 1" and 2" strips of scrap paper are trimmed down to create most of my packaging labels.
I package all of my art prints with a backing board in a clear plastic sleeve.

File formatted for 8.5x11
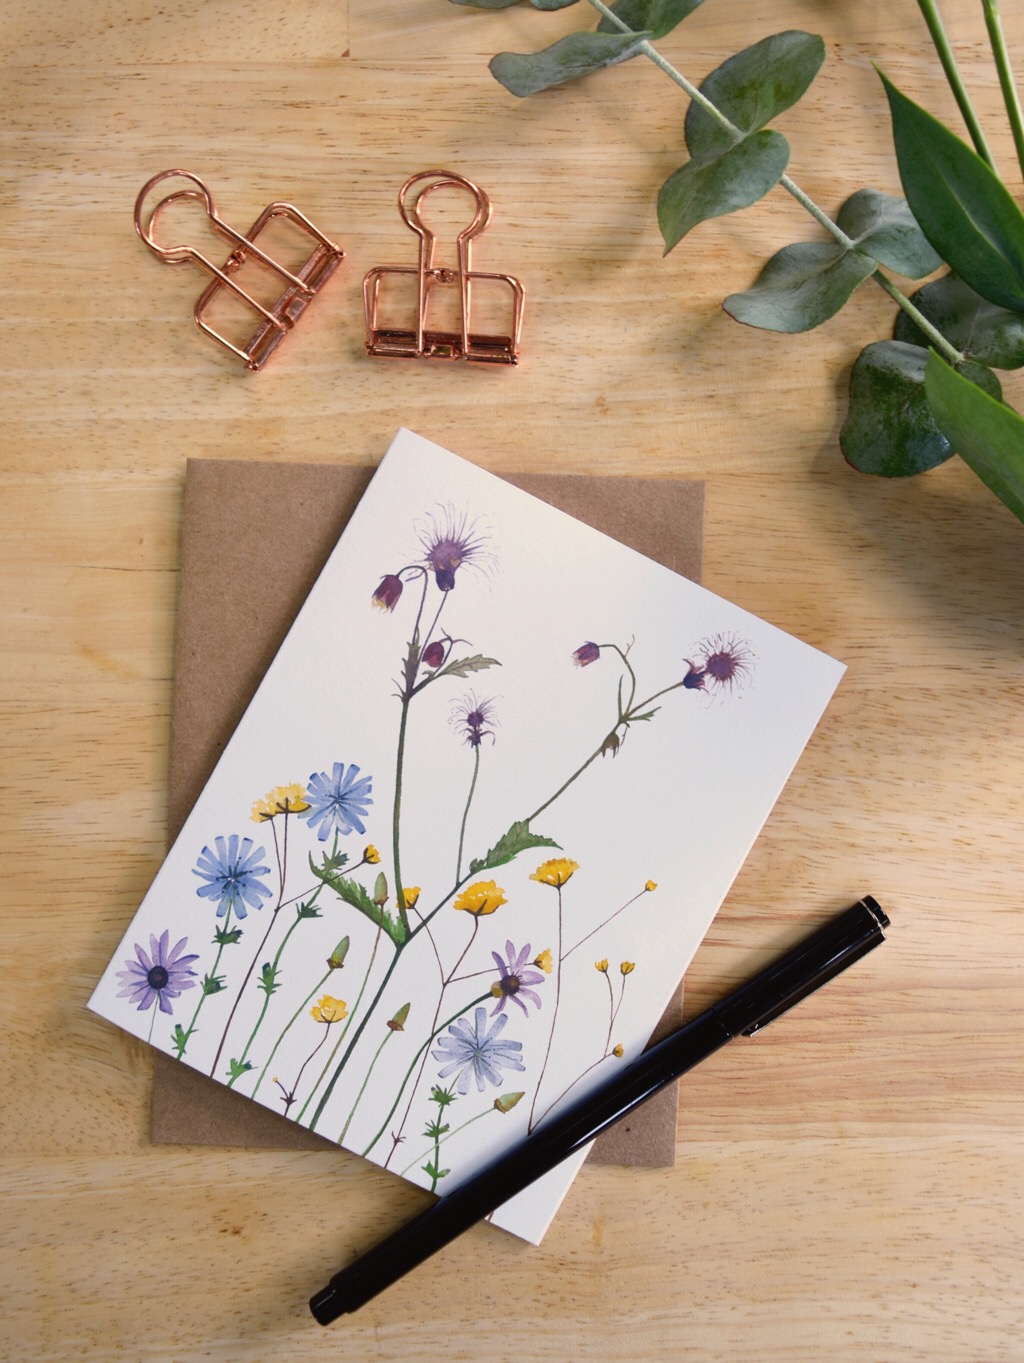
CARDS*
My greeting cards are printed on the Savoy cotton paper listed above. I have designed them to be A2 size (4.25 x 5.5 when folded) so that I can print two perfectly on an 8.5 x 11 pieces of paper. My printer prints full bleed (all the way to the edge), so I waste no paper all.
Once the prints are ready, I score the middle fold with a knife and straight edge, cut out the cards on my paper cutter, and fold them using my bone folder to give them a nice, crisp edge. I then place an envelope inside the card and slide them into a clear plastic sleeve.
* UPDATE 02-12-18
I still print my art prints at home, but have slowly begun to transition my card printing to a company called Printswell. As the wholesale side of my business has picked up, it no longer makes sense to invest the time into printing, cutting, and scoring my cards. The cost is slightly higher (by about $0.15/card), but the quality is excellent, and it saves me SO much time. One thing that's nice about this company is that they have very low minimums, but very reasonable prices, so I don't need to commit to outrageous quantities. The cards come cut to size and scored, so all I have to do is fold it and slide it into the clear sleeve. However, if you are just starting out and not needing high quantities, printing yourself is an excellent way to save on that up front cost.
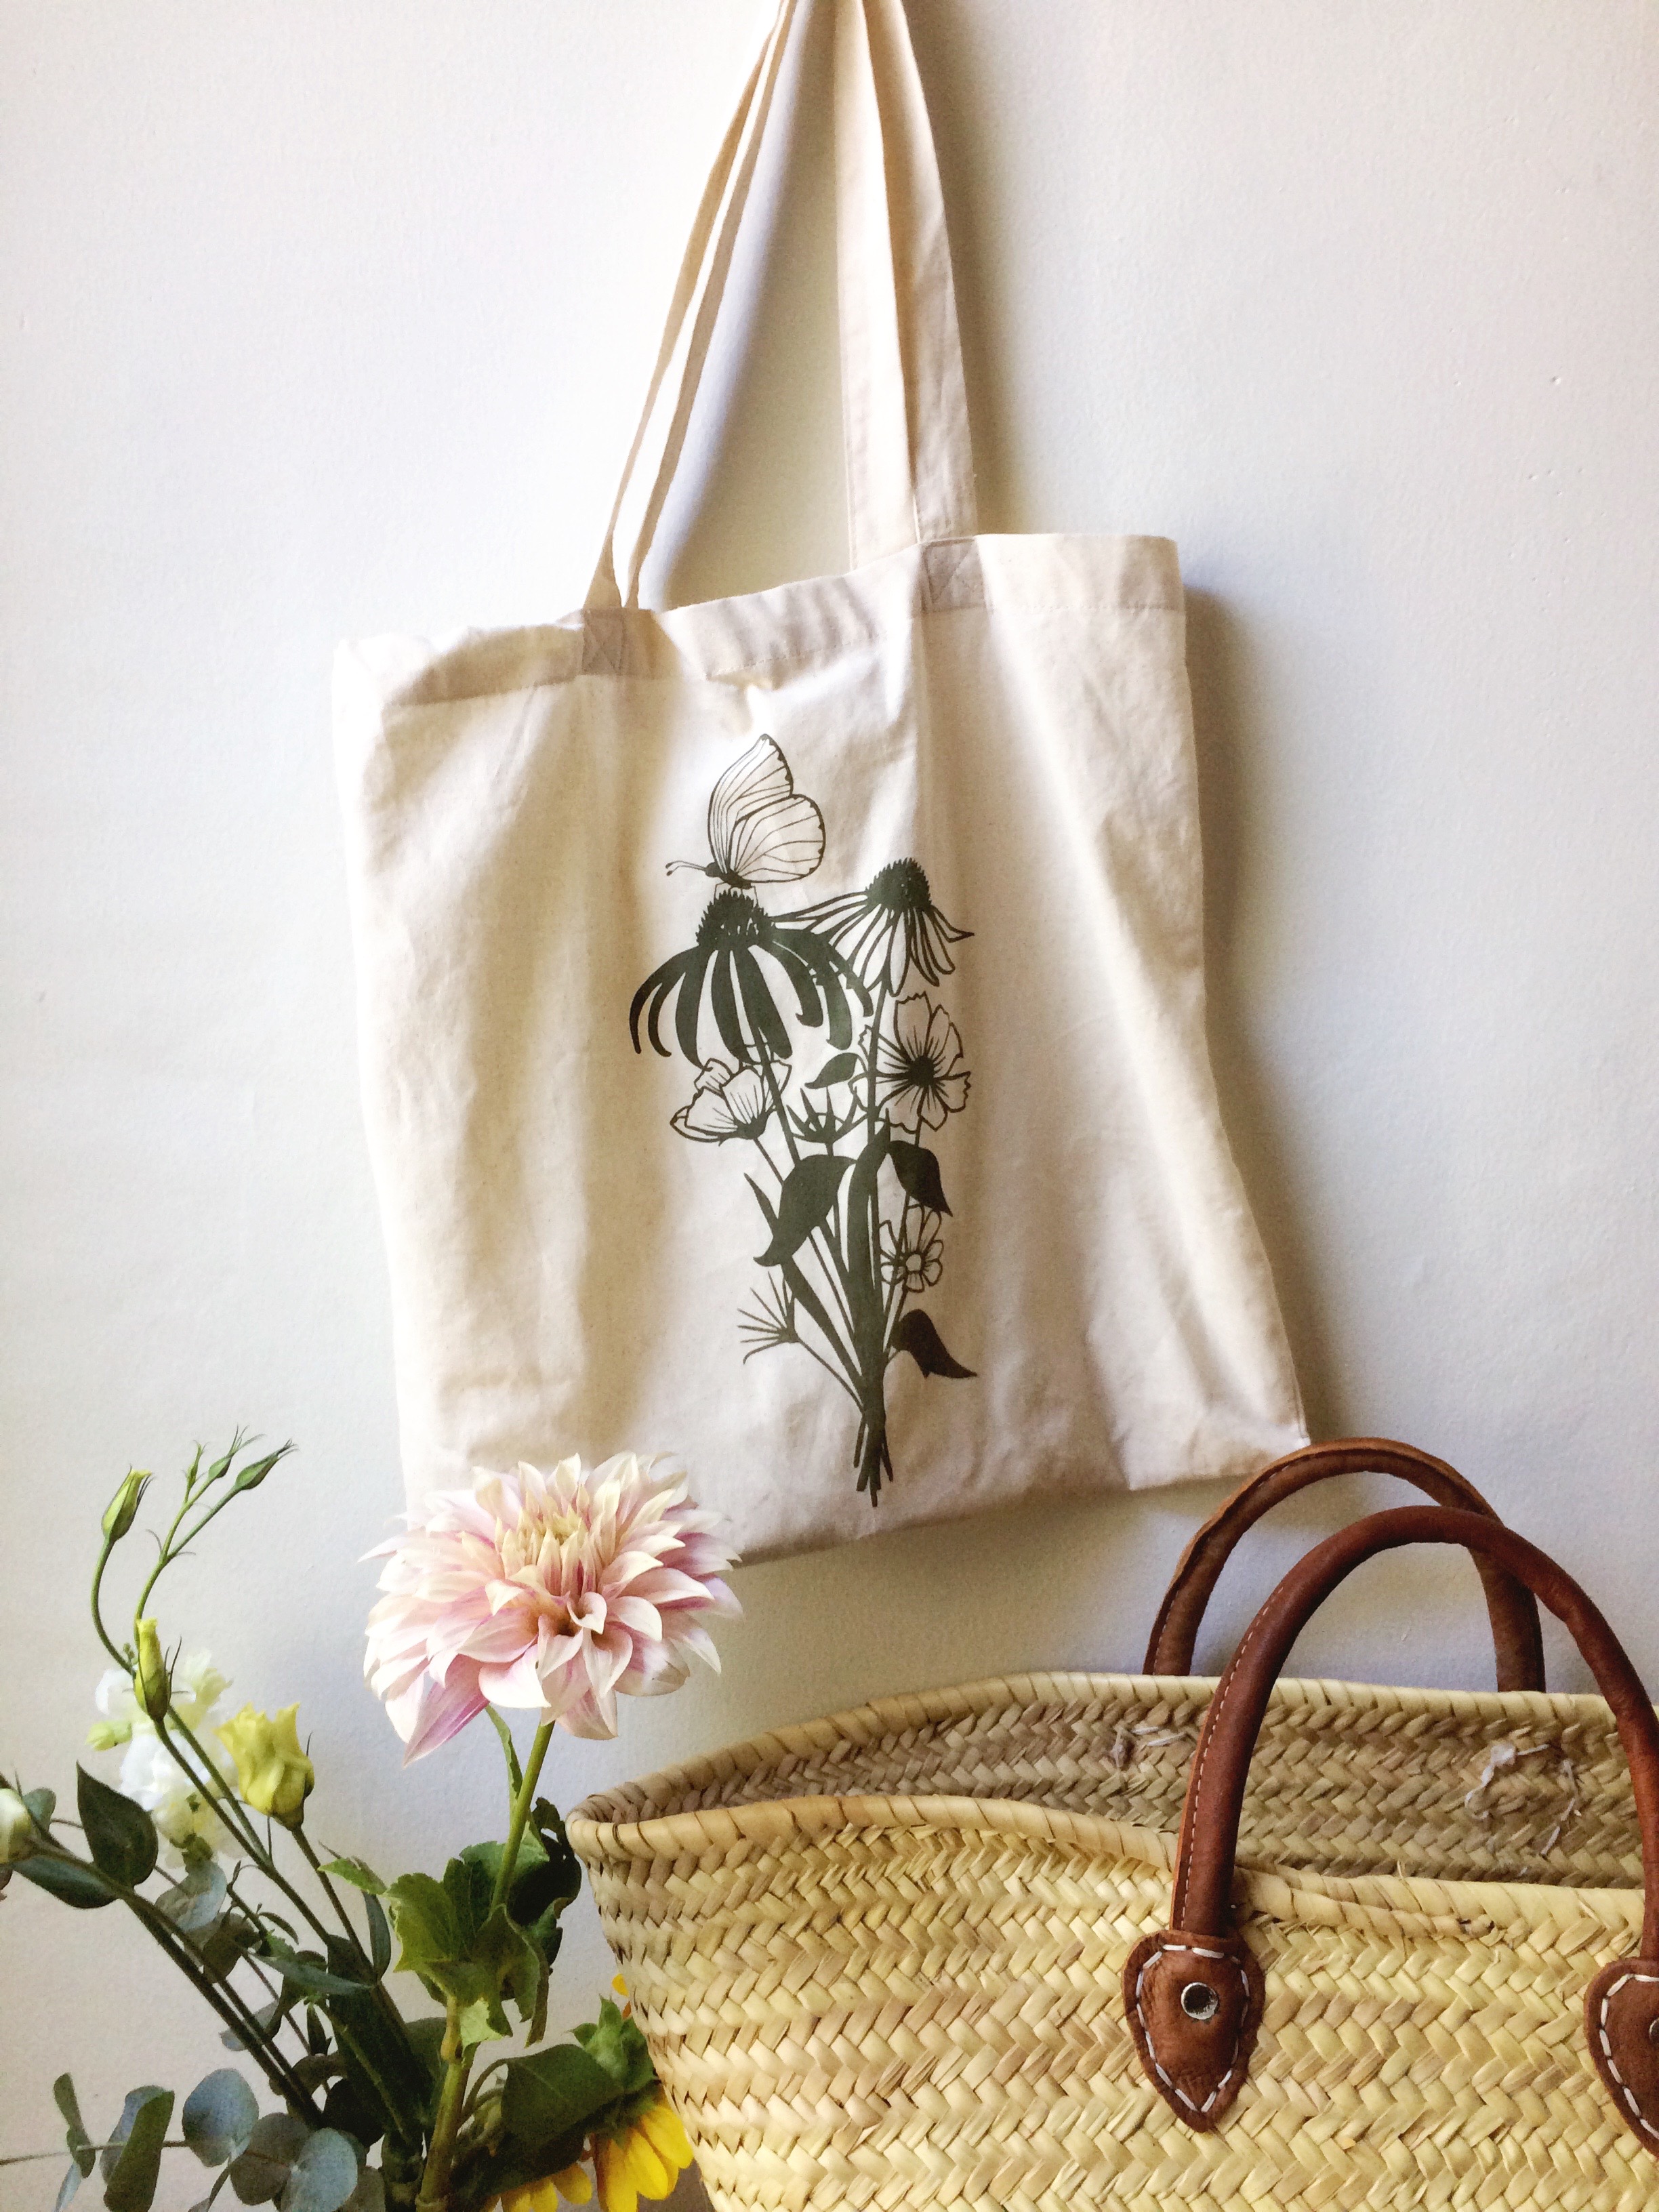
STICKERS, MAGNETS, TOTE BAGS, AND MORE
As my business has expanded, I have begun designing new products that require outsourcing to be produced. It's been wonderful to add new types of products to the shop so that my customers have a larger selection of gift items, and it's fun seeing my artwork on a wider variety of products. The challenges of outsourcing are finding trustworthy printers and the initial upfront cost.
Since outsourcing is a newer side of my business, I'm still in the learning phase myself when it comes to finding printing partners, but I've had a great experience with these companies so far:
Sticker Mule (stickers and magnets)
Smartpress (market list, recipe cards, and last year's calendar)
Moo (business cards, art print labels)
OTHER PRINTING COMPANIES
As I look ahead to the future of my little business, I anticipate that I will not always be printing my own prints and cards. So, I am always on the search for printing companies that I may be able to partner with at some point down the road. Here are a few that I think are worth looking into:
DeFrance Printing (I will likely be using them to print my 2018 calendar this year)
If you're looking for more specialty printers, (for high-end wedding suites, for example), here are a few more:
THINGS TO CONSIDER
Like I mentioned earlier, when you are just starting out, it's critical that you develop a solid base of artwork before searching to and fro for the perfect printing method. The printing, though certainly important, is secondary to the artwork. So, if you've put in the time and feel ready to take the next step to production, here are a few things to consider:
Create a budget
If you're like me, your budget starting out may be extremely small (I literally started with $250). That prevented me from investing a large amount up front to have a printing company produce my cards and prints. However, if you have more wiggle room in your budget, it would be worthwhile to crunch some numbers and see if investing in a printing company right away would be a wise investment. The biggest perk of this approach is that it would free up your time quite a lot so that you can focus more on your artwork and spend less time cutting, scoring, and folding. The biggest risk is that you may be stuck with hundreds of cards or prints, (and down quite a few dollars), before you make your money back on them.Know the numbers
If you are planning to expand your line of products into brick and mortar stores through wholesaling, the cost of producing your items becomes very important. I will go into more detail about wholesaling in a later post, but one thing I've learned the hard way through my trial and error process is that knowing the numbers is critical to actually making a profit. Do your best to calculate everything that goes into the product, from ink to packaging. It will help you set your prices with confidence and create a budget that is realistic.Don't be afraid to mess up!
Even after hours of research and planning, chances are you're going to get something wrong somewhere in the process. Whether it's ordering way to many (or not enough ) of your product, or finding out that your 250 sheet ream of paper isn't compatible with your ink jet printer, these mistakes will help you find the process that works for you.
I do hope this post helps you spend less time and money in your search than I did! Best of luck, and don't hesitate to email me or leave a comment below with any questions you may have.
:) Leana